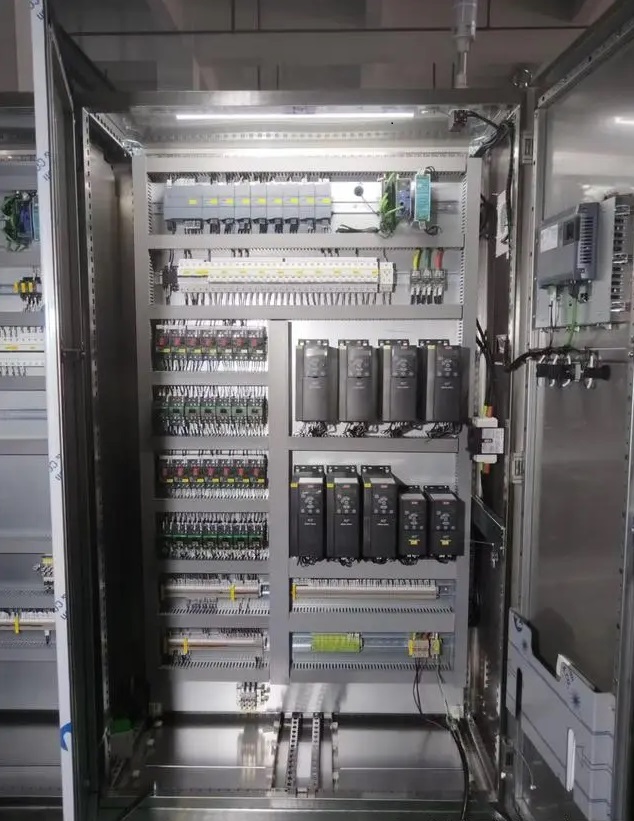
Power supply components
Air switch
Observation method: Check the position of the switch. Normally, it should be in the “ON” (closed) state. If it is in the “OFF” (disconnected) state, it may be overloaded, short-circuited, or the circuit is manually cut off. At the same time, check the handle of the switch. If there is obvious damage, deformation or discoloration (caused by overheating), it may indicate a problem.
Test method: Use the voltage range of the multimeter to place the probes on the input and output ends of the air switch respectively. If there is voltage at the input end and no voltage at the output end, and the switch is in the closed state, the air switch may be damaged. For three-phase air switches, test the three-phase voltage separately to see if it is normal.
24VDC switching power supply
Observation method: Check the indicator light on the power module. Usually, the green indicator light indicates that the power supply is working normally. If the indicator light is off or flashes abnormally, it may indicate that the power supply is faulty. At the same time, check whether there are signs of overheating, smoking or burning on the surface of the power module.
Test method: Use the DC voltage range of the multimeter to measure the voltage at the output end of the power supply. The normal output voltage should be around 24V (a certain fluctuation range is allowed, generally ±10%). If the measured voltage is much lower than 24V or there is no voltage output, it means that the power module may be faulty.
Control core components
PLC
Observation method: Observe the indicator light status of the PLC. Generally, it includes the power indicator light (PWR), the run indicator light (RUN), the fault indicator light (ERR), etc. The power indicator light indicates that the PLC is powered on; the run indicator light flashes or is always on (depending on the brand and model) to indicate that the PLC is running normally; the fault indicator light indicates that the PLC is faulty. At the same time, check whether there is overheating, odor or obvious physical damage on the PLC module.
Software diagnosis method: Monitor the operating status of the PLC online by connecting to the PLC programming software. The software can display the CPU usage rate, memory usage, status of each input and output point, and whether there is a program error. If there is a logical error in the program or the hardware configuration does not match the actual situation, the software will give a corresponding alarm message.
Communication test method: Try to communicate with the host computer or other communication equipment. If the communication fails, there may be a problem with the PLC’s communication module or an incorrect communication setting.
Signal processing and conversion components
Input module
Observation method: Check the indicator light status of the input module. When there is an input signal, the corresponding input point indicator light should light up. If the indicator light is not on, it may be that the sensor has no signal input, or there is a problem with the input module itself.
Signal source detection method: Use a signal generator or manually simulate the input signal (such as short-circuiting the switch input point) to observe whether the input module can receive the signal correctly. If the indicator light corresponding to the module is still not on after the simulated signal is input or the PLC program does not receive the corresponding input signal, it may be that the input module is faulty.
Output module
Observation method: Observe the indicator light status of the output module. When the PLC program controls the output point to have output, the corresponding indicator light should light up. If the indicator light is on, but the actuator (such as relay, contactor, etc.) does not move, it may be that there is a problem with the connection between the output module and the actuator or the actuator is faulty.
Load test method: Connect a test load (such as a small indicator light or resistor) to the output point of the output module, control the on and off of the output point through the PLC program, and observe whether the test load is working properly. If the test load does not work, and the output module indicator light shows normal, the output circuit inside the output module may be damaged.
Control execution components
Relay
Observation method: Check the indicator light status (if any) and mechanical action of the relay. Under normal circumstances, when the relay coil is energized, a clear suction sound should be heard, and the corresponding indicator light (if any) lights up. At the same time, check whether the relay housing has signs of overheating, deformation or burning.
Resistance measurement method: Use the resistance range of the multimeter to measure the resistance of the relay coil. The coil resistance values of different models of relays are different, and you can refer to the product manual. If the resistance value is infinite or differs greatly from the nominal value, it may indicate that the coil is open or short-circuited.
Contactor
Observation method: Observe the action of the contactor. When the contactor coil is energized, you should be able to see the moving and static iron cores energized and the contacts closed. At the same time, check whether the contactor coil is overheated, and whether the contacts are burned, worn or stuck.
Voltage measurement method: Measure the voltage at both ends of the contactor coil. When the PLC output signal causes the contactor to be attracted, if there is rated voltage at both ends of the coil, but the contactor does not move, it may be that the coil is damaged or the mechanical part is stuck.
Connection and auxiliary components
Terminals
Observation method: Check whether the terminals are loose, oxidized or discolored due to overheating. Loose terminals may cause signal interruption or poor contact, oxidized terminals may increase contact resistance, and overheating discoloration indicates that there may be overcurrent.
Resistance measurement method: For important signal loops, the resistance range of the multimeter can be used to measure the connection resistance between the terminals. Under normal circumstances, the resistance value should be very small (close to zero). If the resistance value is too large, it may indicate a poor connection.
Junction trough
Observation method: Check whether the cables in the junction trough are neat and orderly, and whether there are signs of damage, extrusion or overheating. If the cables are arranged in a disorderly manner, it may cause signal interference or damage; damaged cables may cause faults such as short circuits.
Human-machine interaction and communication components
Human-machine interface touch screen
Observation method: Check whether the display of the touch screen is normal, whether there is a flower screen, a black screen, or an error message. Whether the touch function is sensitive and whether it can respond to touch operations normally.
Communication test method: Check whether the communication between the touch screen and the PLC is normal. If the touch screen cannot read or write data from the PLC, it may be a communication line failure or an incorrect communication setting.
Communication interface
Observation method: Check whether the physical connection of the communication interface is good, and whether the pins of the interface are damaged, deformed, or oxidized.
Communication test method: Use professional communication test tools or connect other devices to perform communication tests. If the communication fails, it may be that the interface hardware is damaged or the communication protocol is set incorrectly.